

In the hustle and bustle of daily kitchen life, electric kitchen appliances are our trusty allies—helping us brew morning coffee, whip up delicious meals, and keep our culinary adventures on track. However, as they work hard for us, these appliances can quickly accumulate grime, grease, and crumbs, turning our kitchen into a less-than-inviting space. So, roll up your sleeves, grab your cleaning supplies, and read this article on how to clean your electric kitchen appliances easily!
1. General Cleaning Tips
Before diving into specific appliances, here are some universal cleaning tips:
- Unplug Before Cleaning: Always unplug appliances before cleaning to ensure safety.
- Use Mild Cleaners: Avoid harsh chemicals that could damage surfaces. Instead, use mild dish soap mixed with warm water or a vinegar solution.
- Microfiber Cloths: Use microfiber cloths for dusting and wiping surfaces; they are effective and gentle on appliances.
- Avoid Abrasives: Steer clear of steel wool or abrasive sponges that can scratch surfaces.
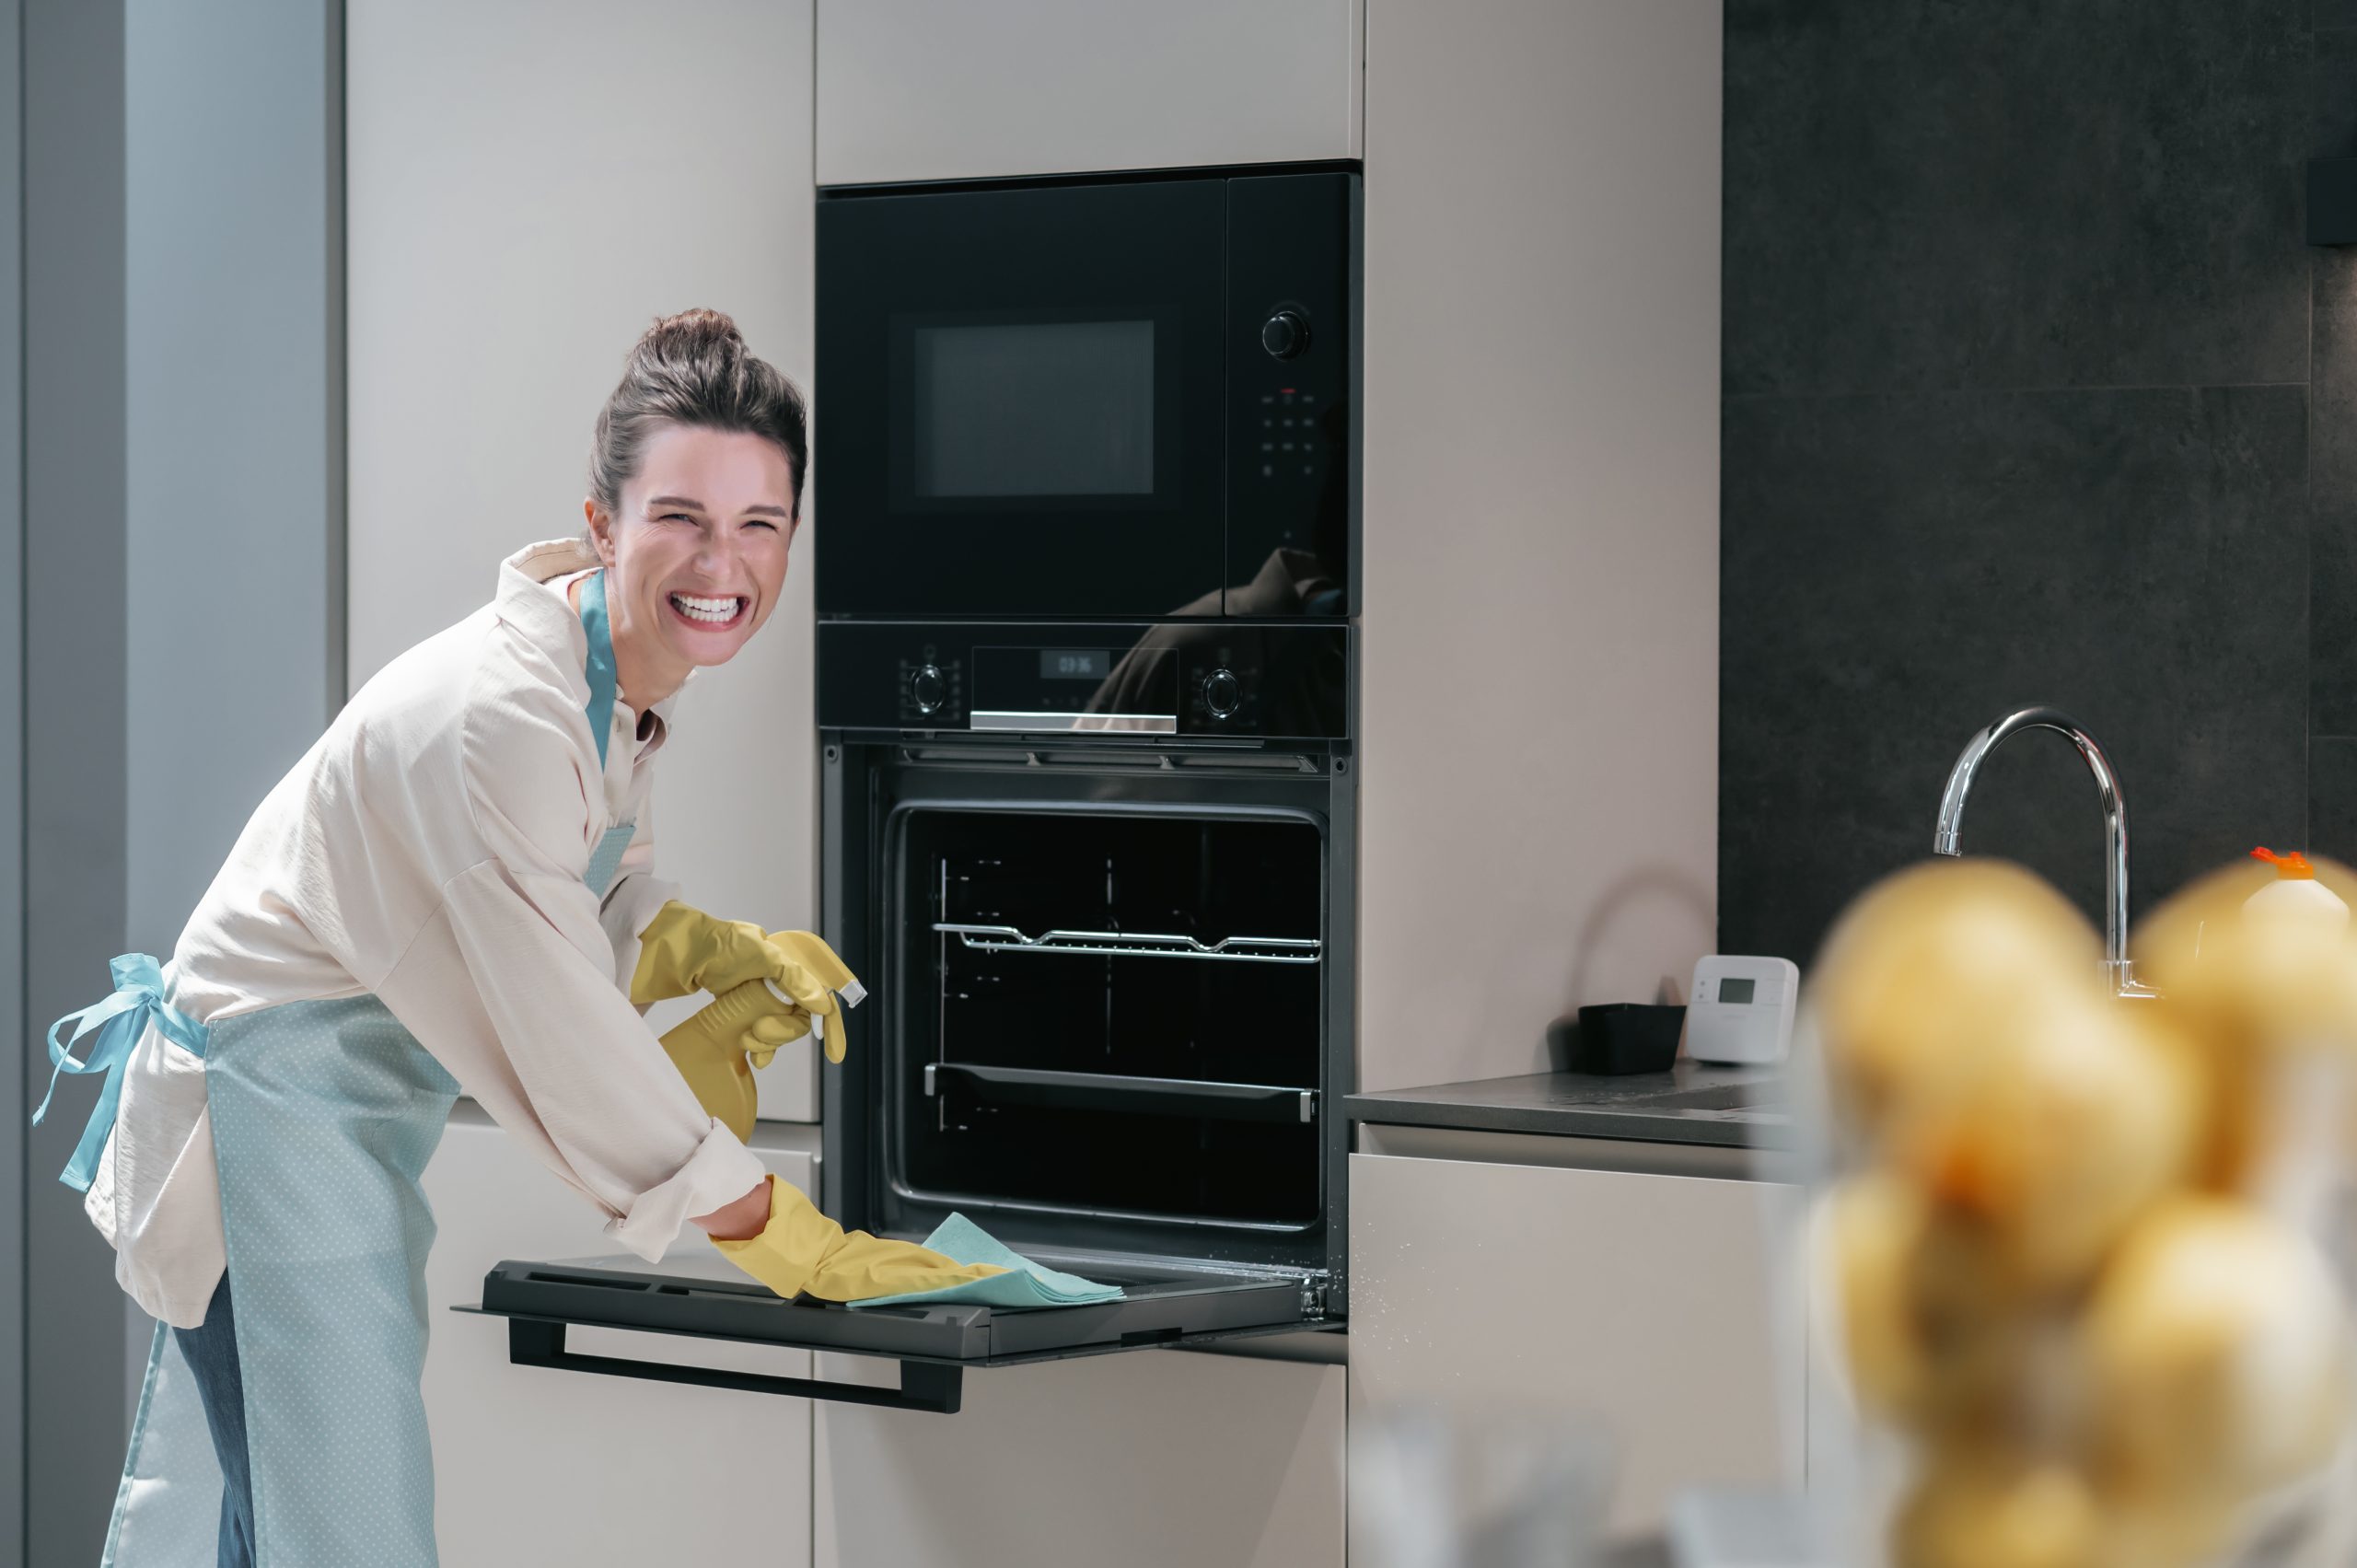
2. Cleaning Specific Electric Kitchen Appliances
a. Coffee Maker
Daily Cleaning: After every usage, wash the carafe and filter basket with hot, soapy water and dispose of the used coffee grounds.
Deep Cleaning: Once a month, fill the water reservoir with equal parts of water and white vinegar. Brew the solution halfway, pause for 30 minutes, and then complete the brew. Rinse with fresh water by running a full cycle.
b. Microwave
Interior Cleaning: Place a bowl of water with lemon slices in the microwave and run it on high for 5 minutes. It is the steam that will loosen the food particles. Wipe the interior with a damp cloth afterward.
Exterior Cleaning: Use a mild cleaner and a soft cloth to wipe down the exterior, including the door and control panel.
c. Toaster
Crumb Tray: Remove the crumb tray and empty it regularly. Wash it with soapy water and dry thoroughly.
Exterior: Use a moist towel to clean the outside. For tough spots, use a mixture of baking soda and water to create a paste, applying it gently with a soft cloth.
d. Blender
Immediate Cleaning: After use, fill the blender jar halfway with warm water and a drop of dish soap. Blend for a few seconds and then rinse thoroughly.
Deep Cleaning: For stubborn stains or odors, use a mixture of vinegar and water or a baking soda paste to scrub the jar and blades.
e. Food Processor
Disassemble: Take apart all removable parts and wash them with warm, soapy water. The bowl, lid, and blades are usually dishwasher-safe.
Wipe the Base: Use a damp cloth to clean the base of the food processor. Make sure that the base is not submerged in water.
f. Electric Griddle or Grill
Cool Down: Allow the appliance to cool completely before cleaning.
Griddle Plates: Use a non-abrasive sponge and warm, soapy water to scrub the cooking surface. For stubborn residue, sprinkle baking soda and scrub gently.
Base and Exterior: Wipe down with a damp cloth and mild cleaner.
g. Stand Mixer
Bowl and Attachments: Wash the mixing bowl and attachments in warm, soapy water or place them in the dishwasher.
Mixer Body: Wipe the exterior with a damp cloth. For tough spots, use a gentle cleaner or a mixture of vinegar and water.
3. Final Touches
- Inspect and Maintain: Always keep an eye out for any indications of damage or wear on appliances. To avoid buildup, clean them often.
- Storage: When putting appliances away, make sure they’re totally dry to avoid mildew and mold.
CONCLUSION
With these simple steps, you can ensure your appliances are clean, safe, and functioning optimally. Regular maintenance will not only keep your kitchen looking its best but also enhance the longevity of your appliances. Make cleaning a part of your routine, and enjoy a sparkling, efficient kitchen!